

Step 1 / 6
Open New Server
In My Servers, select New Server to open the setup wizard.
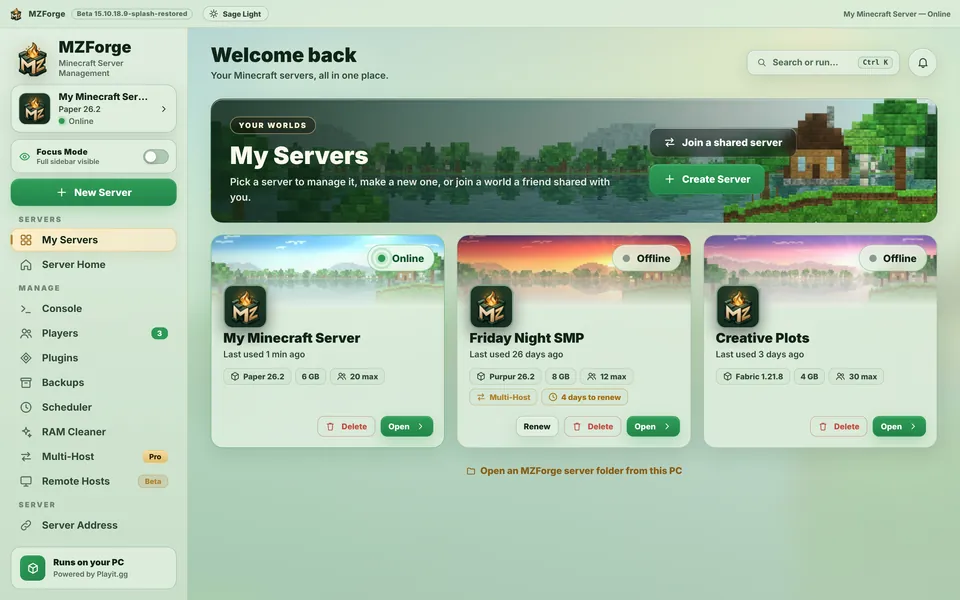
The five-stage setup wizard in MZForge: Server, Game, Looks, Plugins and Finish
In My Servers, select New Server to open the setup wizard.
In the Server step, choose a friendly name and a folder. Keep a memorable name for the world.
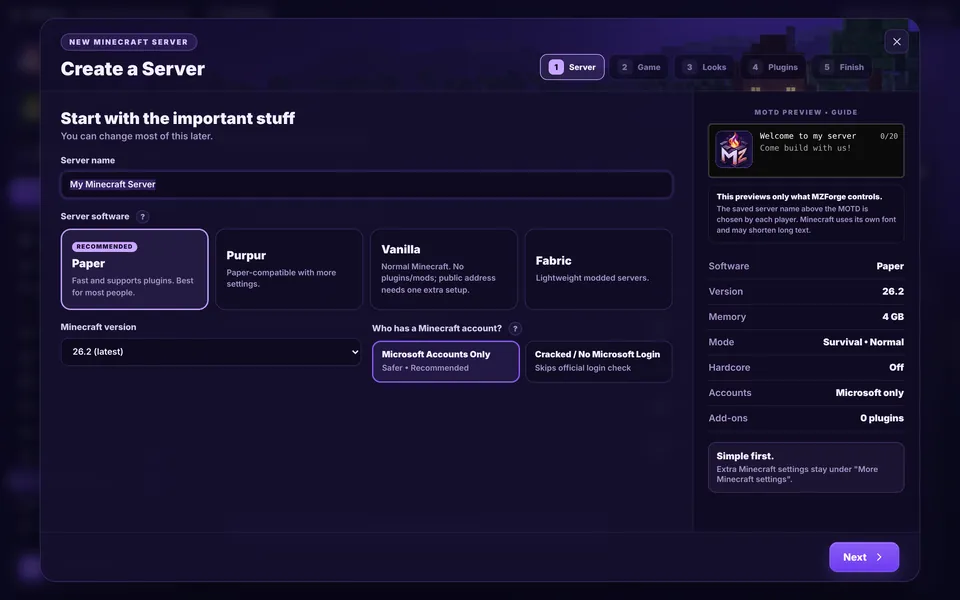
In Game, pick a Minecraft version and server type. Paper is a good beginner default; Purpur, Vanilla and Fabric are also available.
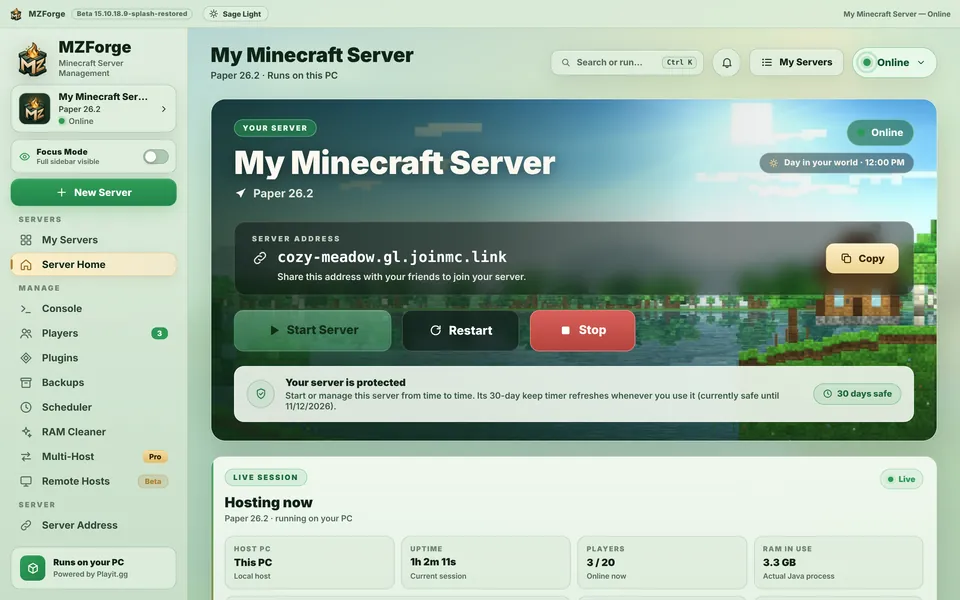
Select a reasonable memory limit and the server look. Leave enough RAM for Windows; you can change server settings later.
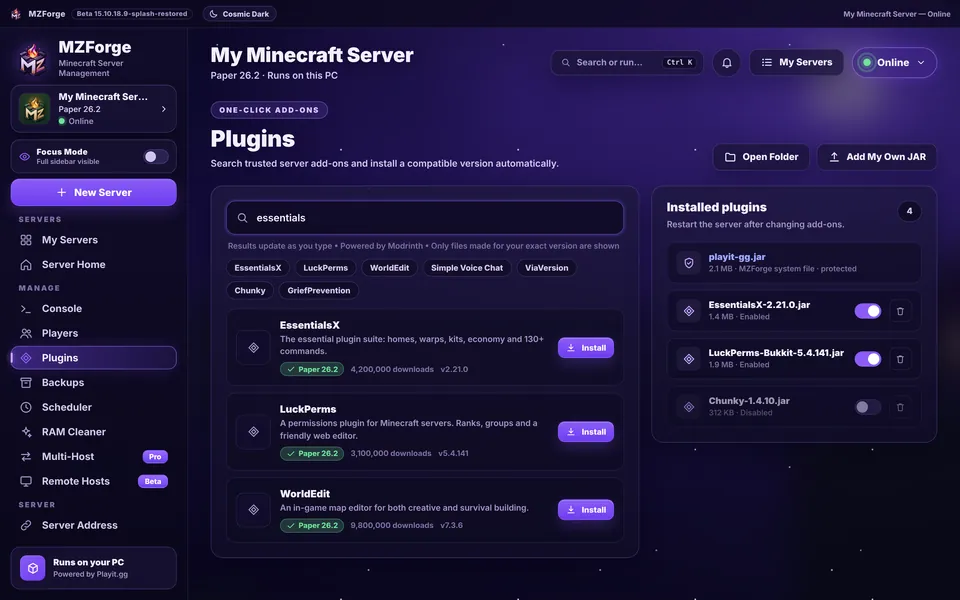
The Plugins wizard step is optional. Start simple; you can add compatible plugins or mods later.
Review your configuration, accept the Minecraft End User License Agreement and choose Create My Server. Your new server appears in My Servers.
If something behaves differently in your build, use Help or Health Check in MZForge rather than forcing the server to continue.

Tutorial complete? Continue with another guide: